How to Install Wireless Bike Computer
A wireless bike computer is a useful device that allows you to track valuable data about your rides like speed, distance, time and pace. By properly installing a bike computer, you can monitor your cycling performance and set new training targets. Here are the main steps about how to set up your wireless bike computer: Wireless bike computers provide real-time access to your ride stats which allow you to adjust pace and set immediate goals based on the numbers on your screen. They are also useful for accurate tracking of longer-term records and comparing progress over weeks and months. For these reasons, many cyclists rely on bike computers as a training tool and riding companion.
Attach the wheel sensor.
The sensor straps to your wheel fork near the rim and detects revolutions to calculate speed and distance. Ensure the sensor is secure but does not rub against the wheel. For example, Bontrager’s DuoTrap sensor is small, lightweight and easily installs to most fork sizes. Install the computer display.
Place the mount on your handlebars near the center or to one side where the display is fully visible yet not distracting. Bike computers like the Garmin Edge 130 Plus have clear displays that are easy to read both indoors and outside in sunlight. Snap the display onto the mount and adjust the angle for your preference.
Pair the wheel sensor and display.
Activate the “pair sensor” mode on the bike computer and spin your wheel to automatically detect the sensor, or enter the 6-8 digit sensor ID manually before first use. The Sigma BC 1009 Bike Computer, for example, begins searching automatically when the display turns on, finding the sensor within 2 wheel revolutions. Select your units of measurement.
Choose between miles and kilometers and miles per hour or kilometers per hour. Also input your true wheel circumference for the most accurate speed and distance tracking. Recalibrate if you switch wheels.
Set your tire calibration.
While auto-calibration works fairly well, manual calibration using the distance of several measured standard bike loops can improve accuracy by up to 10 percent. Ride a flat 1/4 mile (0.4 km) loop to manually calibrate.
To maximize the usefulness of your bike computer, consider these tips:
Check sensors and mounts regularly to ensure secure attachment.
Choose a model with the appropriate range of functions for your needs.
Treat data as estimates, your perception is also important. Recalibrate once a month or if accuracy seems off.
Replace batteries annually for best performance; expired batteries damage the product or render readings inaccurate.
With your new bike computer properly installed and tested, you have an ideal tool for recording and analyzing every aspect of your rides. Now get out for a spin and see how far and fast you can go! Let me know if you have any other questions.
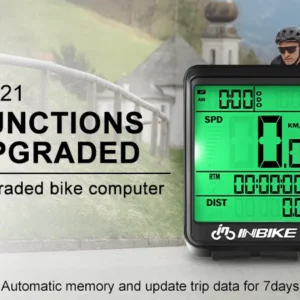
How about INBIKE Cycling Computer
INBIKE produces affordable yet feature-packed bike computers perfect for cycling enthusiasts of all levels. INBIKE computers provide the key stats to track your ride data including speed, distance, time, pace and more. With easy installation and an intuitive interface, INBIKE makes it simple to monitor your performance and achieve your goals. Key features of INBIKE bike computers include:
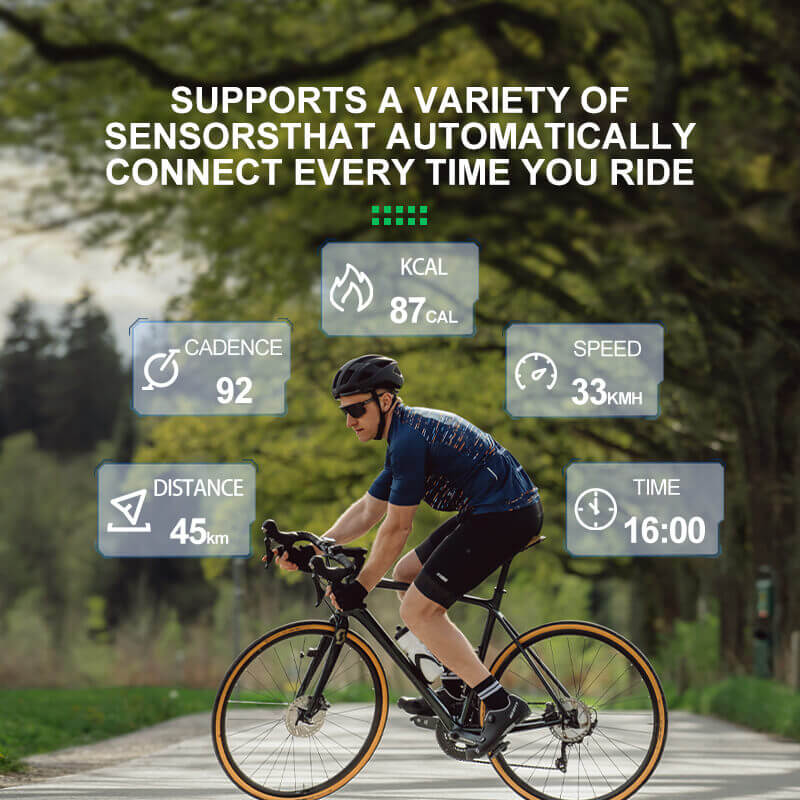
Wireless connectivity between the display, speed sensor, and cadence sensor. No complicated wiring required. Pre-set ride profiles for cycling, mountain biking and e-biking. Simply select your profile to instantly show relevant data fields. Large, backlit LCD display offers easy viewing in all light conditions. Read your stats with a quick glance.
20+ data functions like speed, distance, time, altitude, cadence. All your key metrics in one place.
Water-resistant and shock-proof design. Built to handle all riding conditions.
User-replaceable batteries (included) for convenience. No need to remove the computer during battery changes.
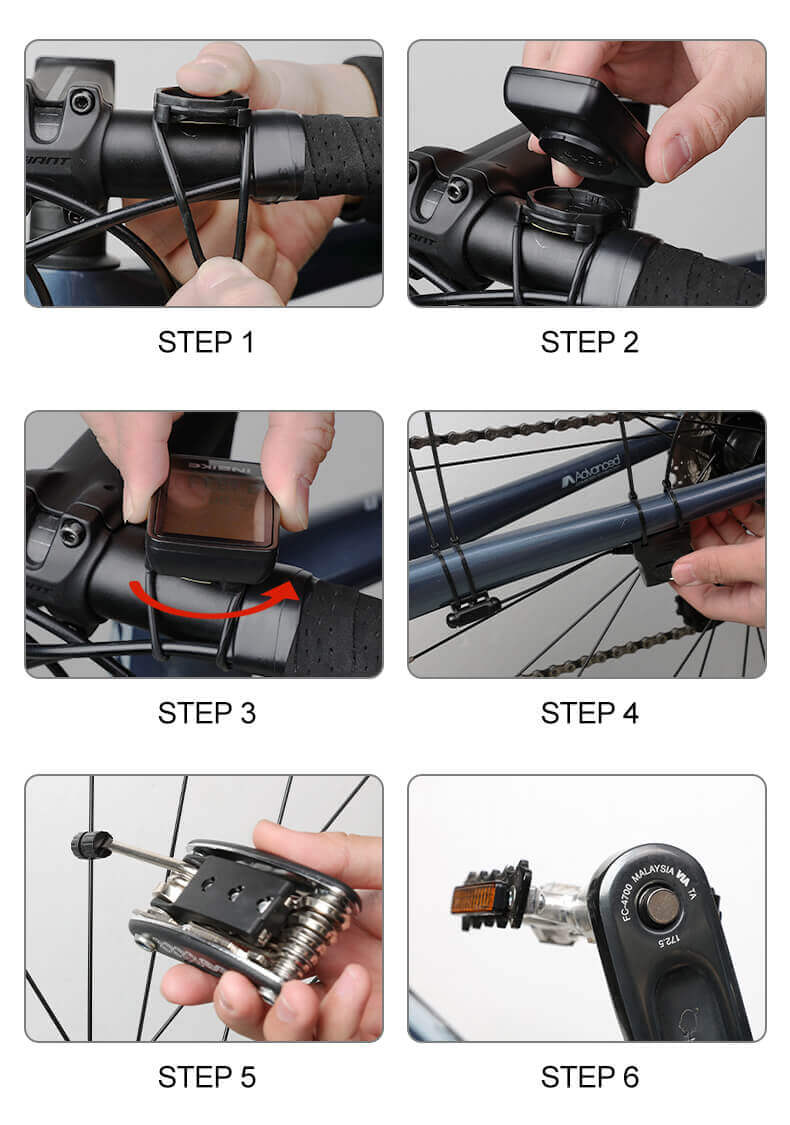
How To Install Your INBIKE Bike Computer
Attach the wheel magnet and cadence magnet (if applicable).
Place each magnet on the spoke of your front wheel and pedal crank.
Install the speed sensor and cadence sensor (if applicable). Straps the sensors onto your fork and chain stay.
Ensure the sensors align with their corresponding magnets for most accurate data.
Handlebar installation.
Place the mount on your handlebars in a visible spot and attach the display onto the mount.
The adjustable mount allows you to set your perfect viewing angle.
Select your preferred units of measurement. Choose between miles and kilometers as well as miles per hour or kilometers per hour.
Ride! Your INBIKE computer automatically pairs with the sensors. Manually spin the pedals to ensure the cadence readings activate (if equipped). You’re ready to ride. INBIKE bike computers offer reliable performance tracking starting at an affordable price. With the key installation steps complete, you can now take your INBIKE computer for a spin and monitor how far and fast you can go. Track all of life’s cycling adventures with INBIKE.